
First of all, a huge thank you to everyone for your lovely comments on my previous post about program tips! It’s encouraging to know that these posts have been helpful, and I hope that they continue to be so?
This post follows on from my previous one about design program tools that can help improve your visuals. If you haven’t read that post yet, I suggest you do before delving into this one.
These posts are about providing you with some program tips but framing their use in basic graphic design principles. The ultimate goal is to help you improve how you visually tell the story of your science.
I talked about alignment, layering, and colours in the previous post. This post will just touch on one concept: artboards.
The reason for the singular focus is that, honestly, I am a little burnt-out. Work (both design and research work) has been hectic. On top of that, we are currently going through the process of buying our first house, which is crazy daunting!
I am a massive advocate of a positive work-life balance. So, sticking to my principles, I decided to end this post with just the one tip and spend the rest of my Saturday getting some much needed chilling out.
I’ll talk through examples in Adobe Illustrator (‘Illustrator’) and Affinity Designer (‘Designer’). Microsoft PowerPoint (‘PowerPoint’) doesn’t do artboards, nor should it, as it is a presentation program first and foremost, not a design program.
Artboards
As researchers, we often think of ourselves as objective conveyors of science and discovery. Yet, we are storytellers; we tell stories about what we see in the world and how we have tried to explain it. From presentations to publishing articles, we aim to share a story in everything we do.
A good story needs a clear narrative and cohesion among the parts. This is as true for visuals we present as the words we use. For example, figures in papers are presented in an order that follows the story in the text. As a visual communicator, I think a lot about the story that my figures/visuals tell and how each piece fits into the larger message I am trying to convey.
One of the best design program features to help with storytelling is artboards. Artboards are like pieces of paper on a table, each with a different visual. Here the table is the workspace (canvas) that is your .ai or .afdesign file. Artboards let you design (or edit) multiple figures or visuals in one file.
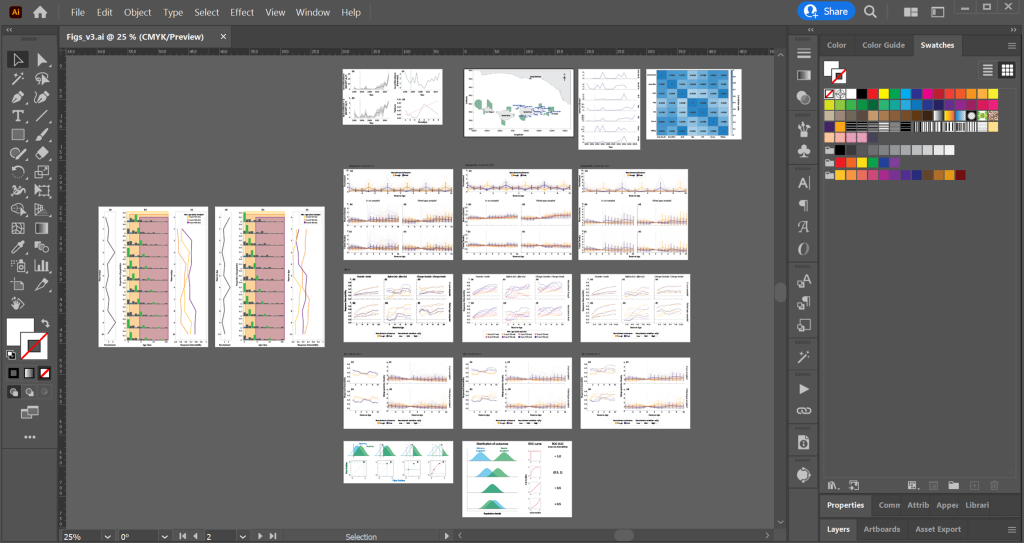
Below is an example from a paper I published last year. All the figures I used in the main and supplementary texts have separate artboards located in a single file.
There are several significant advantages to having all your figures in one place (c.f. having a separate file for each figure):
- You can easily see the story that your figures are telling and check for omissions or duplications in the data and ideas. You can also order and move artboards around (more on this below), allowing you to play with different narratives.
- You can ensure that the appearance of your figures is cohesive. For example, have you used the same stroke (line) thickness across all your figures? Are the colours from the same palette (see my previous post)? Is the text the same font and size? These may not seem immediately important to you, but if you want to present professional, well-designed figures, then cohesion is essential. Furthermore, you can help link similar concepts across multiple figures by using the same aesthetics for those concepts. It’s a little hard to see at this scale, but in all my figures above I used purple to represent results from one simulation condition and yellow for results from another (I am a marine ecological modeller in my ‘other life’).
- You can set up the artboards to match the journal requirements (more on this below). No more approximating if your figure will fill half or a third of the page.
- You don’t end up with 17 (in my example above) different files, which you have to rename versions of every time you make a major change. I work with one file, different saved versions, for each project/manuscript.
There is a downside to this approach, though; the file can get quite large and if your computer struggles at the best of times, you’ll find that the file can slow or crash it. This is especially true if you work with images (photos) rather than purely vector (line) based figures.
How to
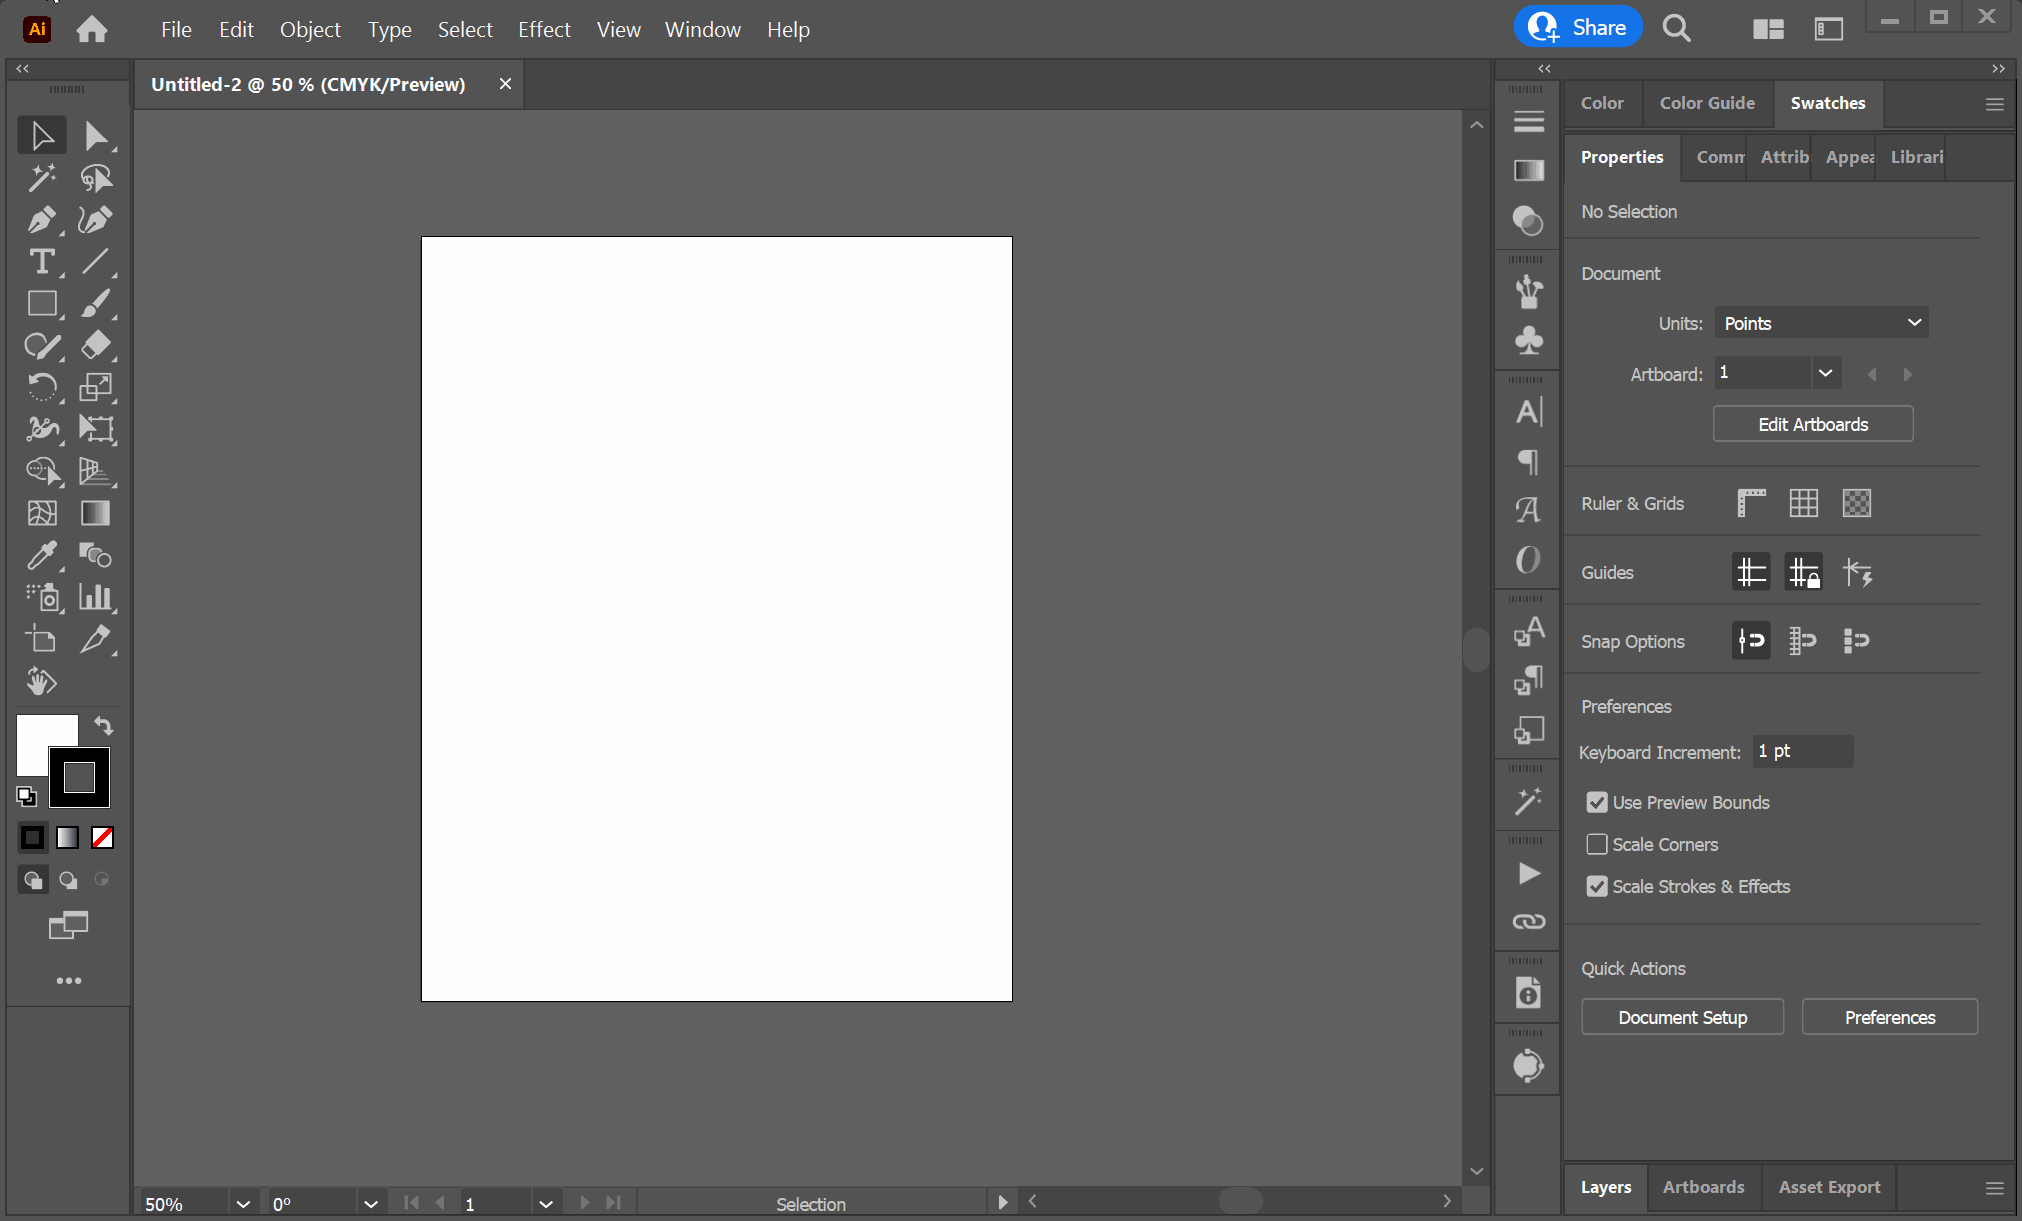
In both Illustrator and Designer, there is a specific artboard tool, which is located in the tools panel on the left-hand side:


Selecting this tool lets you create, transform, and move artboards. A note in Designer, you can’t move artboards with the artboard tool: you need to select the artboard with the artboard tool, then go to the move tool (the one that looks like an arrow) and use that to move the artboard. This can be a little frustrating.
Transforming, creating, and moving artboards in Illustrator.
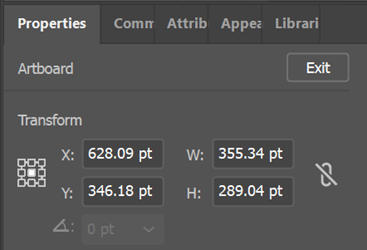
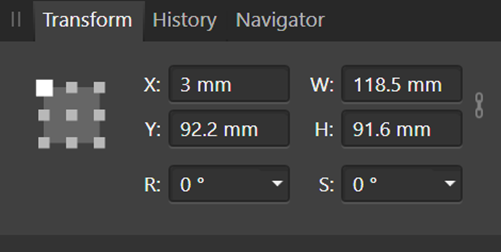
You can also set a specific size for an artboard by selecting the artboard (with the artboard tool) and changing the values in the transform panel (under the Properties panel in Illustrator).
If you want to use a different unit than the default, just type that unit at the end of the numbers. For example, I often work in cm (as this is what journals use in figure guidelines), so I would just type ‘21cm’ in the ‘W:’ box (W = width, H = height).
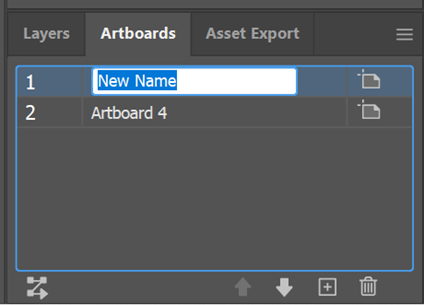
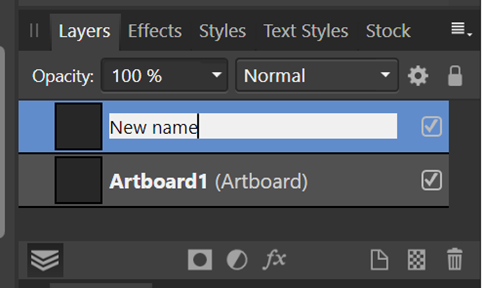
You can also rename the artboards, which can help with exporting (more on this below). Double-click its name under the Artboard panel in Illustrator or under the Layers panel in Designer to rename an artboard. If you don’t see an artboard panel in Illustrator, you’ll need to activate it through Window -> Artboards.
Exporting your artboards is slightly different in each program.
For Illustrator, go to File -> Export -> Export for screens which will bring up a dialogue box. Make sure the Artboards tab is selected, and then you can select which artboards to export and the options.

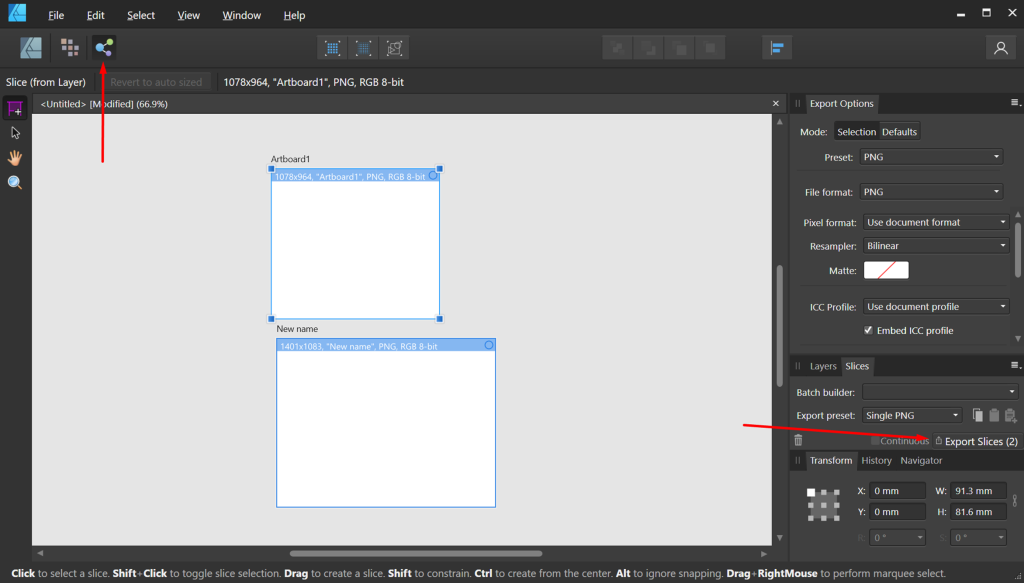
For Designer, you will need to go into Export Persona by clicking on the atom-looking icon, top left. Then you will need to make sure that the artboards are selected and export using the ‘Export Slices’ button:
On a side note, I plan to do a future post about how to import/export your visuals and the best formats to use to allow for cross-program editing. For example, I create all my research figures in R or MATLAB and then edit them in Illustrator.
Final words
This is definitely only the tip of the iceberg for design principles and design programs! Many excellent (paid) online courses and (free) YouTube videos are available to teach you either of these. Here, I really wanted to get you thinking about what it means to marry programs and principles together to create better scientific visuals.
If nothing else, remember that design programs are tools to help. They have been created with designers in mind, so most of their features will relate to one graphic design principle or another. I can already see a follow-up post or two…
I want this blog to be useful and interesting for you! If you have a question about creating visuals for science, or a concept you would like to learn more about, reach out on Twitter by tagging me @KnowlegibleDsg. If I don’t know the answer, we’ll figure it out together.
Want to know when a new post comes out? Join the mailing list here.
Don’t forget to share this with others who would find this helpful!
Thanks for being here,